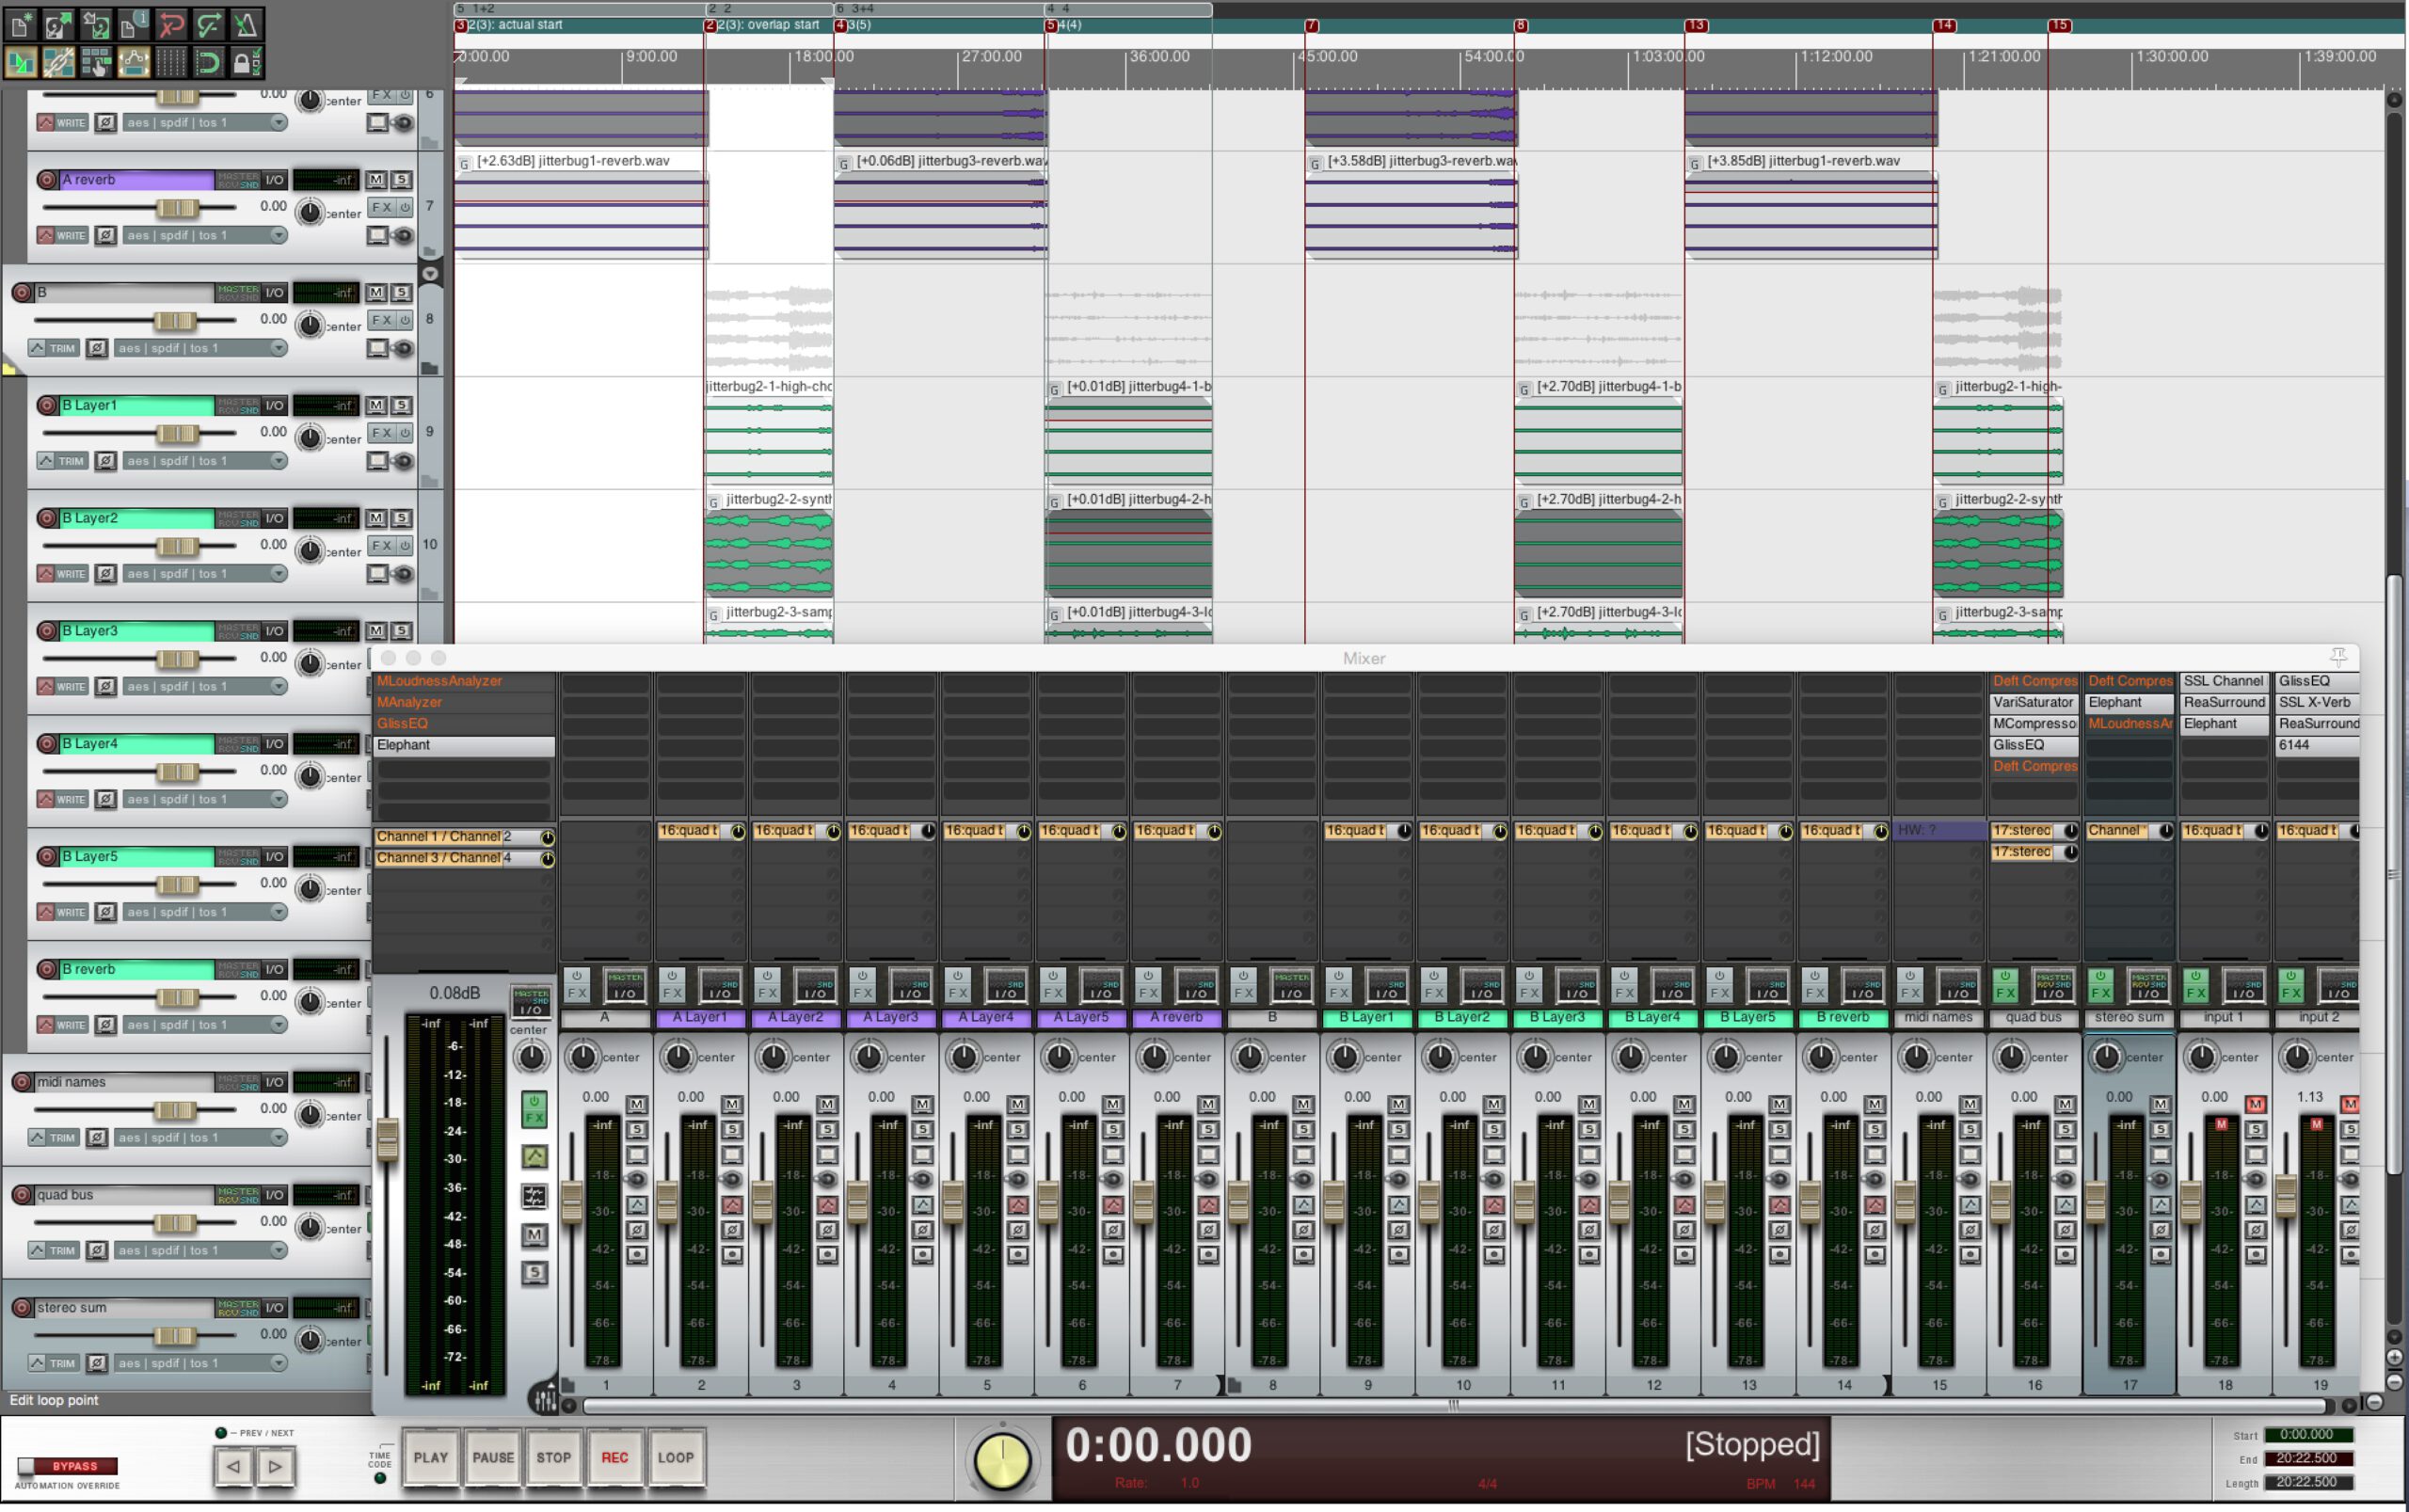
jitterbug is a four-movement four-channel work/album for computer, with or without improvising musicians. It is documented more generally but in detail in another blog post. Here I’m going to concentrate on some aspects of the use of Reaper in both the production and performance of this 40-minute work.
I’m turning to Reaper more and more for mixing applications these days. Composing jitterbug meant creating the first extensive multichannel mix I’ve done with it (all previous projects were stereo). I have to say that I continue to be impressed with the flexibility and stability of routing and other operations Reaper offers. It doesn’t have a surround panner built into the mixer channel strips by default, like my previous DAW of choice, Nuendo, but the the surround plugin that comes with Reaper by default is very capable of doing pretty much all of what Nuendo’s does, and of course Reaper comes at a fraction of Nuendo’s price. (On a related note, it was the lack of in-built surround capability that led me to move from ProTools to Nuendo back in about 2002, but I no longer think I can justify the cost of Nuendo in my non-commercially focussed projects, and I certainly can’t recommend it to my hard-up students.)
Markers
As mentioned in the Markers section of a previous blog post related to my Delhi sound pollution project, Reaper files are plain text so we can easily edit them to add or change markers. The experimental code I included in that previous blog post has now been tidied up, integrated into, and documented in the slippery-chicken 1.06 release.
One thing I often talk about in my lectures and seminars is not being led down someone else’s path when it comes to making your own music. The grid layouts turned on by default in most DAW software—and enforced when “snap to grid” is turned on—lead some composers to inadvertently align with a tempo and/or meter grid that was not an intentional part of their original design. Of course we can easily hide a grid, thus leading to more free-form temporal arrangements of materials, but even better of course is to create your own grid from the rhythmic-proportional data that forms the backbone to your composition, if you have one. This is what the pexpand-reaper-markers function does: it will create Reaper marker data at all the section, subsection, and sub-subsection boundaries in your piece, with different colours for the different levels of your major and minor sections.

iPAD & MIRA
As with my hyperboles project, the performance of jitterbug is controlled with the iPAD via MaxMSP’s Mira object. Whereas in hyperboles, audio processing and mixing was done in MaxMSP itself, jitterbug is performed directly from Reaper. Grouping broadly related tracks—according to spectrum, sonic character, or source, perhaps—from the main mix I bounced down five 96KHz/32-bit floating point quadrophonic stems for each movement; these are then mixed in real-time during the performance. The overall reverberation effects for the mix of these stems was also separately bounced down so that I can boost or attenuate reverb levels according to the liveliness of the performance space.
I added FX plugins such as EQ and dynamic range processors to Reaper’s master bus in order to tame potential issues with the performance space. Using Reaper I was able to do a rough-and-ready pink noise calibration of the exhibition space at Museum Siam. This involved playing pink noise into the space at about 85dB SPL and looking at the spectrum coming back into Reaper via a Neumann U87 in omnidirectional pattern mode (the exhibition space used eight speakers surrounding the audience, after all). Using my favourite all-purpose EQ plugin, Voxengo’s GlissEQ, I was able to quickly and dynamically tame the broad 915Hz accentuation of the room and compensate for its 200Hz hole.
Reaper allows very flexible control of its interface via OSC so I made a mira interface in MaxMSP that would allow me to change levels from a central point within the audience, and an OSC pattern configuration file for Reaper that would give me the required number of tracks and messages without flooding the network (a message frequency of 20ms was sufficient). This approach meant that I could put the computer and other hardware out of the way and out of view of the audience and take up a minimal mixing footprint: no more than any other audience member in fact. As well as levels for the five stem tracks plus reverb I could control overall bass and treble boosts, high and low-pass filters (for spaces or situations where the shelf filters alone would not suffice, perhaps), as well as the two live input levels for keyboard and saw duang. I could also jump to specific markers in the piece and play, pause, stop, and record the performance all from the iPAD. As Reaper sends OSC messages as well as receiving them, I was able to see the current play position, update a textual description of the five stems so I knew at any given time what kind of sound was under the faders, and, most importantly, even see the audio level meters. (These were overlaid onto the sliders used to change levels, thus saving interface space. MaxMSP recognises that the meter is not an object you interact with directly whereas the slider is, so there is no conflict of interface created by overlapping the two objects.)


Leave a Reply